Somebody over in ride reports wanted more info so I thought I would post it here rather than dirty up some elses thread.
This all works because I have homemade luggage brackets to build off of. However, if you had happy trails brackets I think you could weld tabs on them. Also, the concepts can be applied to any setup if you're willing to build enough bracketry.
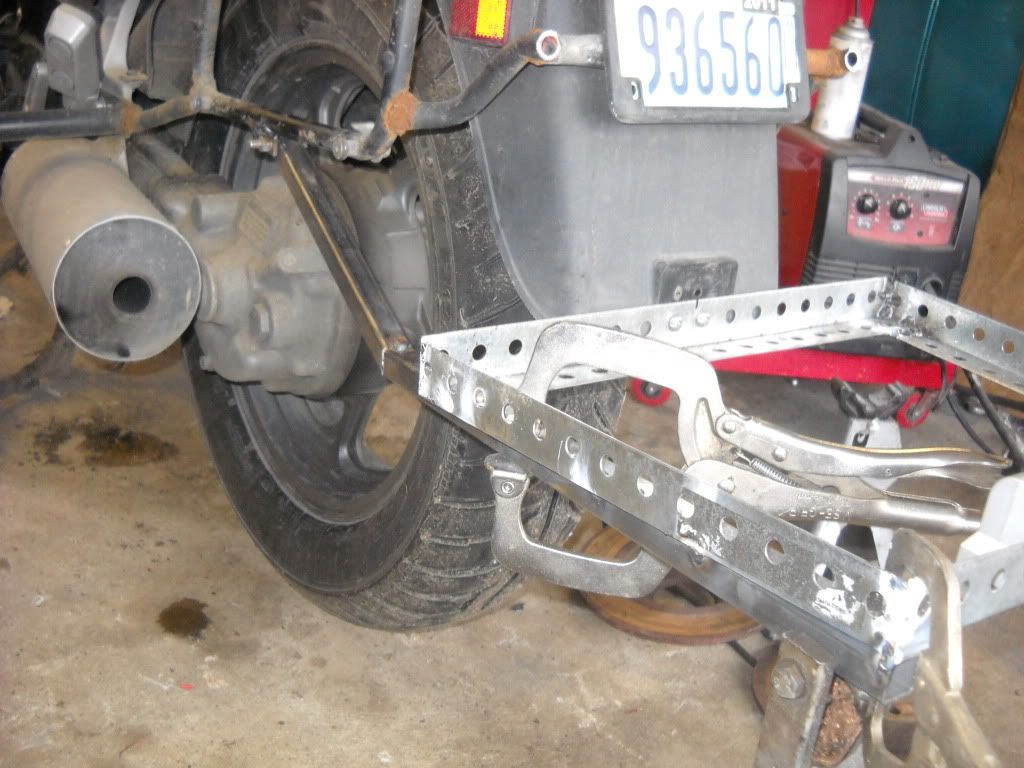
This is the base of it. The two "struts" that support the bottom of the basket are 1" box. I pie-cut them and bent them up, then welded them back together to get the angle. I wanted the box low, but not dragging, so I put the bottom even with the bottom of the rear fender. The "basket" is thin galvanized angle tacked together in the corners. The struts angle towards the center kind of, which kind of makes the sides into triangles, which gives it the rigidity so it doesn't sway side-to-side.
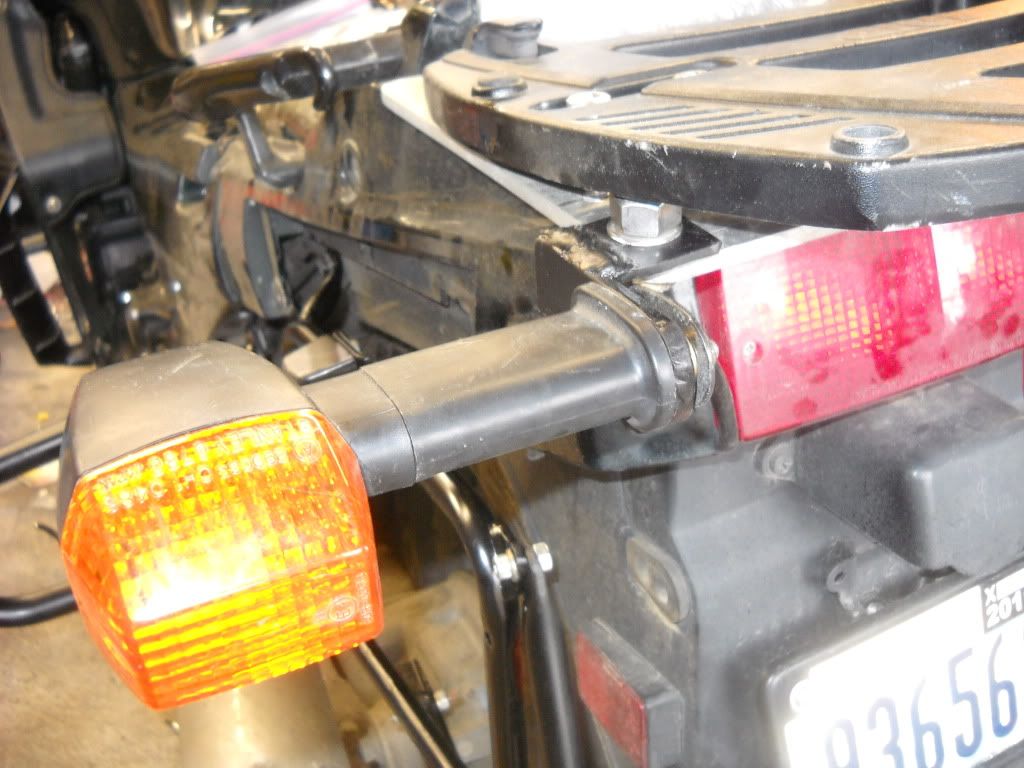
Here you can see the vertical struts. They attach to tabs that were already there from when the luggage rack was an SV650 luggage rack, so I just recycled them. They are close to the rear mounting bolts which was the goal. The bolts are 1/4-20's. I used stainless because I had them. I have stood on the rack, so they are adequate in my opinion.
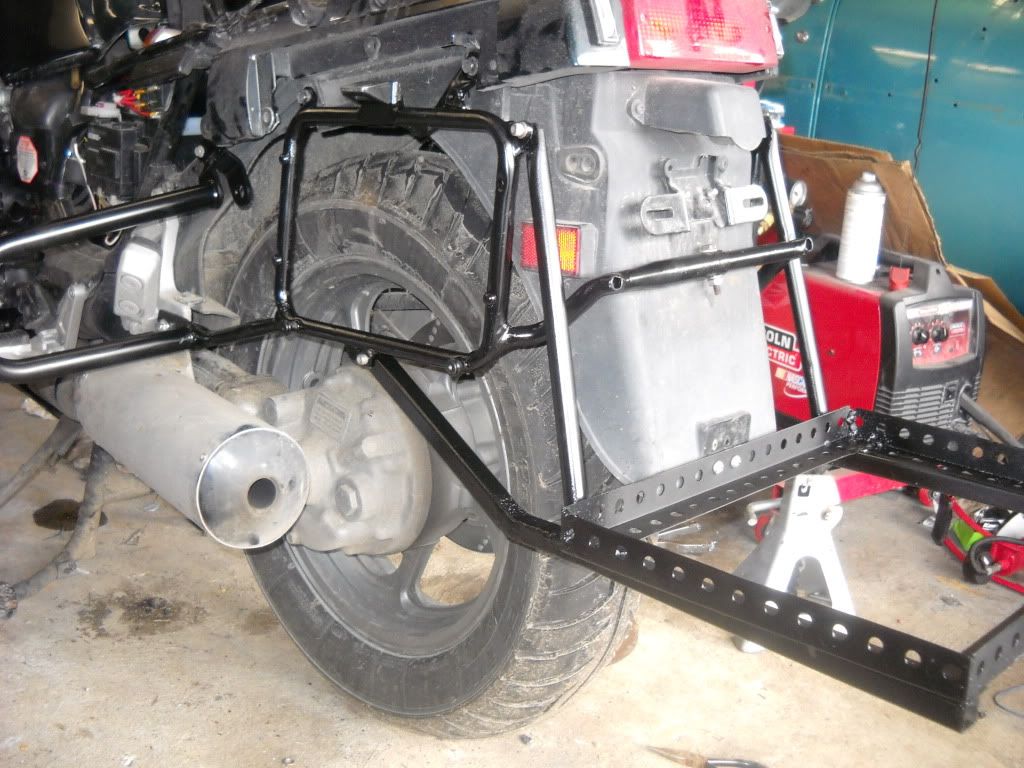
I also had to relocate the turn signals up above the box. They look a little goofy up there with no cases, but not with the side cases on, which is my normal rig.
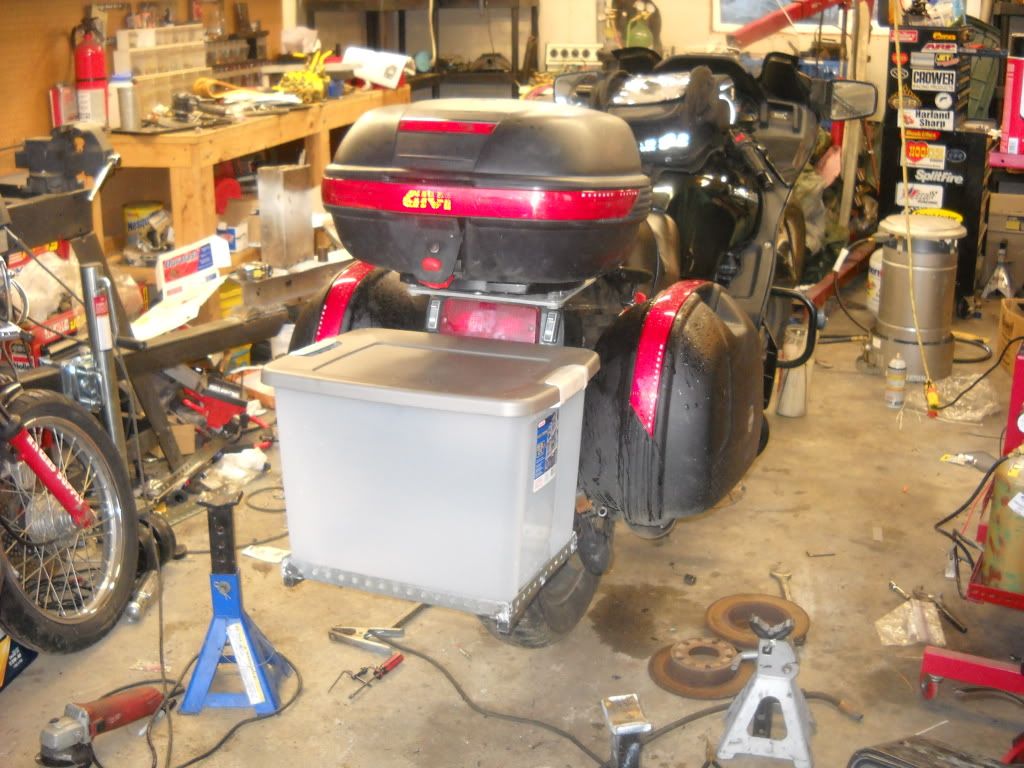
Here is my first luggage attempt - a 50L Rubbermaid tub with a locking tub. It was cheap, light, and fit perfect, but had two problems: (1) it didn't quite hold everything I needed it to carry, and (2) the top would bow up and then dirt/rain would leak in.
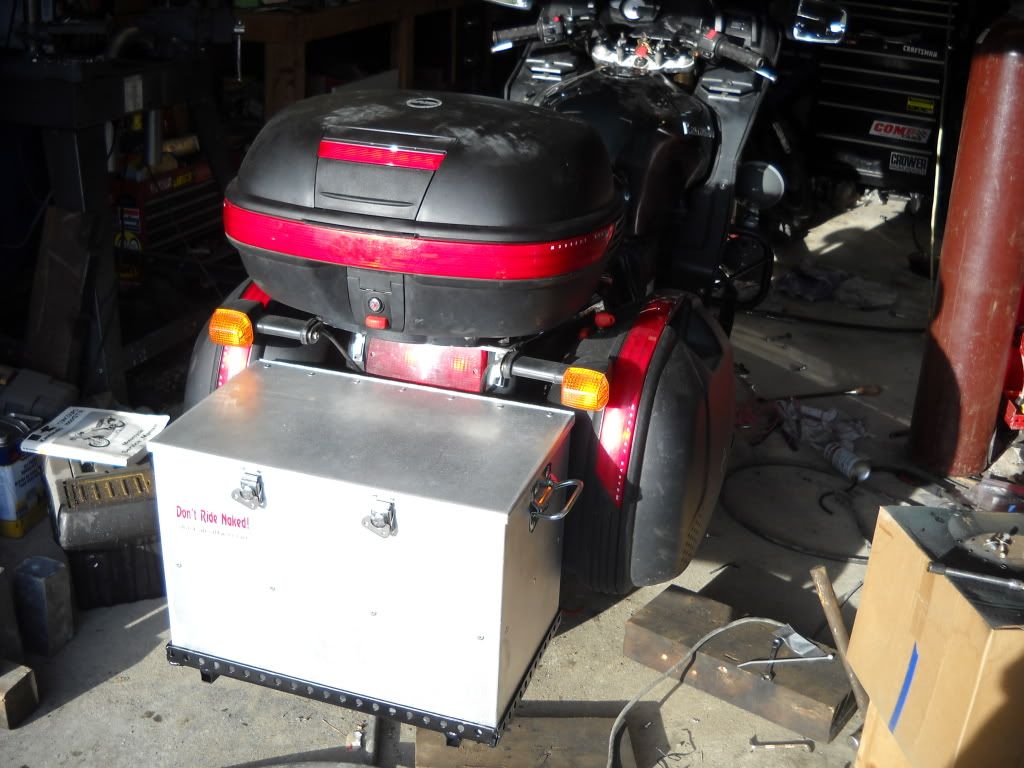
So I bribed the guys at work in the sheet metal shop with some coffee and donuts, and they made me a slightly bigger, sturdier box from sheet aluminum. I built a slightly bigger "basket" to hold it in, and lined it with neoprene rubber stuff my friend Dan got me. Since it was custom, it goes exactly to the bottom of the taillight. I have to move the license plate to the back of the case when running it. On our long trip I used double sticky sided tape, but I'm going to procure some aluminum bolts and tig them in from the back in the future. It doubles as a chair at the campsite, and a place to toss things at night if it looks like rain. It stills leaks a little dirt. It has a 1/2" lip on top under the lid, I'm going to put a layer of the thin neoprene on it which should help.
Riding impressions: I rode around with just the trunk on loaded up for about a week. When I first put it on I still had the stock rear rim and shock. I usually ran 20# or so solo and I ran 30# with the case. Once I quit getting scared that it was going to kill me, the only thing I noticed was it required a little more pressure on the handlebars for initial turn in, then it disappeared.
After I put the meanie rear wheel, C14 shock, and zx-9 front forks on, I had to add quite a few clicks to prevent the bike from wheelieing (how to you spell that) when 2up. I ended up dialing in a fair amount of rebound in the front forks as well. After I got it dialed in, once again it disappeared. Loaded up and 2up, this bike will still double. I like it better than running the top case - way less turbulence and the bike is less "floppy" in the corner. Will it kill you? Definitely not. Is this a new trend in luggage accessories? Probably not. Is it a viable option if you are considering a trailer? A resounding yes.


